Comprehensive Guide: How to Clean and Maintain Industrial Shredder Components Properly for Peak Performance


The Critical Importance of Industrial Shredder Maintenance
In the world of metal fabrication and waste management, the industrial shredder stands as a cornerstone of efficiency. However, the sheer force and environmental conditions these machines operate under mean that wear and tear are inevitable. Learning how to clean and maintain industrial shredder components properly is not just a matter of following a manual; it is a strategic approach to protecting a significant capital investment. Proper maintenance ensures that the machine operates at peak throughput, reduces the risk of catastrophic failure, and extends the lifespan of expensive components like blades and gearboxes.
Neglecting maintenance leads to a domino effect of operational issues. For instance, a dull blade doesn’t just cut poorly; it increases the load on the motor, which in turn generates excess heat in the hydraulic system and puts undue stress on the bearings. By the time a visible failure occurs, the internal damage may already be extensive. HARSLE emphasizes that a proactive maintenance culture is the difference between a machine that lasts ten years and one that requires a complete overhaul in three. This guide provides a deep dive into the technical requirements of keeping your shredder in top-tier condition.
Furthermore, safety is a paramount concern. A poorly maintained shredder is a hazardous shredder. Loose bolts, frayed electrical wires, or leaking hydraulic fluid can lead to workplace accidents. By establishing a rigorous cleaning and maintenance routine, you create a safer environment for operators. This article will walk you through every facet of the process, from daily visual checks to complex mechanical adjustments, ensuring you have the knowledge to clean maintain industrial shredder components properly.
Daily Inspection: The First Line of Defense
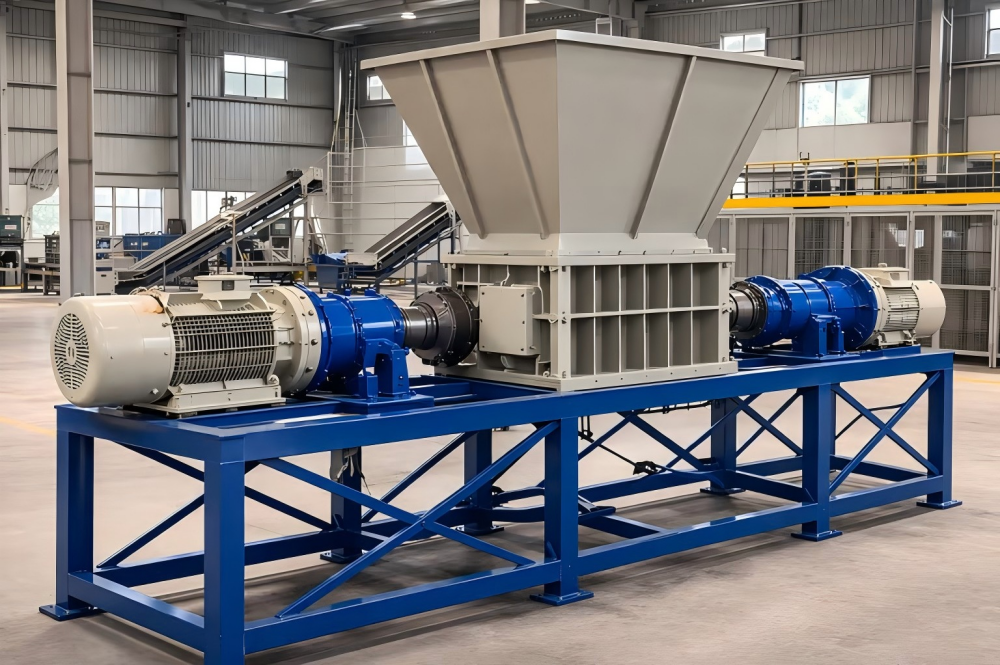
The daily inspection is the most effective way to catch minor issues before they escalate into expensive repairs. Before the shift begins, operators should perform a comprehensive walk-around. This starts with a visual check of the hopper and the cutting chamber. Ensure there are no foreign objects or non-shreddable materials stuck in the blades. Even a small piece of hardened steel or an oversized alloy block can cause significant damage if the machine is started under load.
During the daily check, pay close attention to the fasteners. Industrial shredders vibrate significantly during operation, and this vibration can loosen even the most secure bolts. Check the mounting bolts for the motor, the gearbox, and the bearing housings. A loose bearing housing can lead to shaft misalignment, which will rapidly destroy the seals and the bearings themselves. If you notice any movement or unusual gaps, tighten the components to the manufacturer’s specified torque settings immediately.
Noise monitoring is another critical aspect of the daily routine. Experienced operators should be attuned to the “voice” of the machine. A high-pitched whine might indicate a bearing failure or a hydraulic pump cavitation issue. A rhythmic thumping could suggest a broken tooth on a blade or a problem within the gearbox. By identifying these sounds early, you can schedule a controlled shutdown rather than dealing with an unexpected breakdown in the middle of a production run. Documenting these daily findings in a logbook is essential for long-term health tracking.
Hydraulic System Maintenance and Fluid Management
The hydraulic system is the lifeblood of many industrial shredders, providing the torque necessary to crush and shear through tough materials. To clean maintain industrial shredder components properly, one must prioritize hydraulic fluid health. The oil serves three primary purposes: transmitting power, lubricating moving parts, and dissipating heat. Over time, hydraulic oil degrades due to thermal stress and contamination from dust and metal particles.
Regularly check the oil level and color. If the oil appears milky, it indicates water contamination, which can lead to rust and reduced lubricity. If it appears dark or smells burnt, it has likely oxidized due to overheating. HARSLE recommends performing an oil analysis every six months. This laboratory test identifies the presence of microscopic wear metals, which can tell you which internal components are wearing out before they actually fail. Additionally, ensure that the hydraulic filters are replaced according to the service interval, or sooner if the filter bypass indicator is triggered.
Leak detection is equally vital. Even a small “weep” at a fitting can attract dust, creating a thick sludge that insulates the components and causes them to overheat. Clean any spilled oil immediately and tighten or replace leaking hoses. Check the condition of the hydraulic cylinders and piston rods; any scoring or pitting on the rods can damage the seals, leading to internal leakage and loss of pressure. Finally, ensure the cooling system—whether air-cooled or water-cooled—is free of debris so it can effectively manage the system’s operating temperature.
Electrical Systems and Control Logic Integrity
Modern industrial shredders rely on sophisticated electrical systems and Programmable Logic Controllers (PLCs) to manage motor loads and auto-reverse functions. Maintaining these components requires a clean, dry environment. Dust is the primary enemy of electrical cabinets. Fine metallic dust can cause short circuits, while organic dust can act as an insulator, causing components like Variable Frequency Drives (VFDs) and contactors to overheat and fail prematurely.
Once a month, the electrical cabinet should be opened (after following proper lockout/tagout procedures) and cleaned using low-pressure compressed air or a specialized vacuum. Check all wiring connections for tightness. Thermal cycling—the heating and cooling of wires during operation—can cause connections to loosen over time. A loose connection creates resistance, which generates more heat and can eventually lead to a fire or a melted terminal block. Use an infrared thermometer to scan for “hot spots” on breakers and contactors while the machine is under load.
The sensors and limit switches located around the shredder are also critical. These components tell the PLC when the hopper is full, when a door is open, or when a jam has occurred. If these sensors are covered in grime or misaligned, the machine’s safety and automation features will fail. Clean the lenses of optical sensors and ensure that proximity switches are within the correct sensing range. Regularly update the PLC software if the manufacturer provides patches that improve efficiency or add new safety protocols.
Mechanical Components: Blades, Shafts, and Bearings
The heart of the shredder lies in its mechanical assembly. To clean maintain industrial shredder components properly, you must focus heavily on the cutting chamber. The blades (or knives) are the most frequently replaced wear parts. Depending on the material being processed, blades can become dull or chipped. Dull blades increase the “gap” between the cutting edges, leading to material being dragged through rather than cut, which significantly increases the amperage draw on the motor.
Inspect the blades weekly for signs of wear. Some shredders allow for blade flipping or rotating to utilize unused edges, while others require professional sharpening. When replacing blades, always replace them in sets or according to the manufacturer’s pattern to maintain shaft balance. The shafts themselves must be checked for straightness. A bent shaft, even by a fraction of a millimeter, will cause catastrophic vibration and bearing failure. Ensure the spacers between the blades are clean and free of material buildup, as this can cause the blades to shift laterally.
Bearings are the unsung heroes of the shredder. They support the massive loads of the rotating shafts. Most industrial shredder bearings are heavy-duty spherical roller bearings designed for high impact. However, they must be kept free of contaminants. Check the bearing seals regularly; if a seal is compromised, dust will enter the race and act as an abrasive, quickly destroying the bearing. If you notice the bearing housing is too hot to touch (typically over 70-80°C), it is a sign of over-greasing, under-greasing, or internal damage.
Effective Cleaning Procedures and Residue Removal
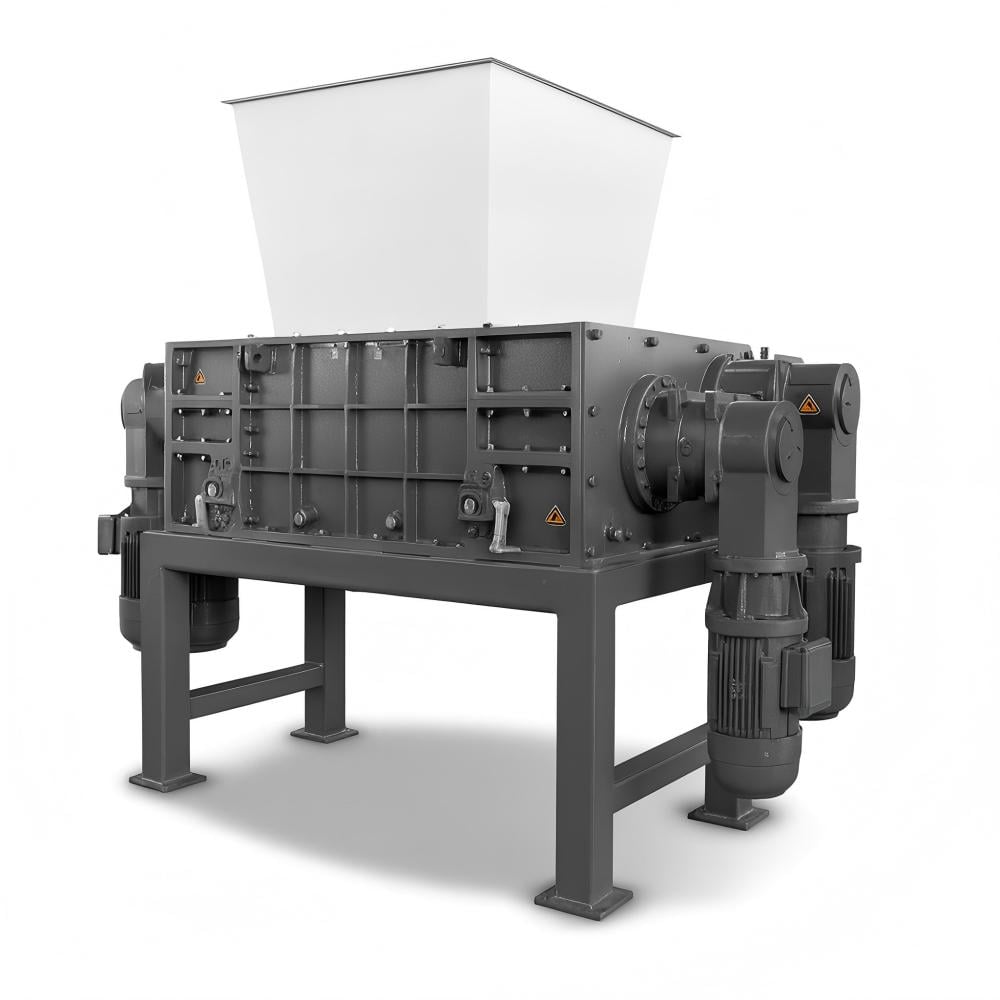
Cleaning is often the most overlooked part of maintenance, yet it is essential to clean maintain industrial shredder components properly. A dirty machine hides problems. If the frame is covered in grease and dust, you won’t see a structural crack or a hydraulic leak. The cleaning process should be systematic. Start by clearing the cutting chamber of all residual material at the end of every shift. This prevents moisture in the waste from causing corrosion on the blades and shafts overnight.
For deep cleaning, use a combination of high-pressure air and industrial vacuums. Avoid using high-pressure water near electrical components or bearing seals, as water ingress can cause immediate failure. If the shredder is used for plastics or materials that melt, you may need to use specialized scrapers or heat guns to remove hardened residue from the shafts. Be careful not to scratch the precision surfaces of the shafts during this process.
Corrosion protection is the final step of a good cleaning routine. In humid environments or when shredding corrosive materials (like certain e-waste or chemical containers), apply a light coat of rust-inhibitor to the exposed steel surfaces of the cutting chamber during extended shutdowns. This ensures that the metal remains structural and that the blades remain easy to remove when it comes time for replacement. A clean machine is also a point of pride for operators, encouraging them to take better care of the equipment.
Lubrication Plan: The Key to Friction Reduction
A robust lubrication plan is the backbone of mechanical longevity. Without proper lubrication, the friction generated by the shredder’s massive torque would melt components within hours. The lubrication plan should specify the type of lubricant, the location of the grease points, the frequency of application, and the quantity of grease required. Not all greases are created equal; shredders typically require high-pressure (EP) grease with molybdenum or graphite additives to handle shock loads.
Automated lubrication systems are common on HARSLE shredders, but they are not “set and forget.” You must regularly check the reservoir levels and ensure that the distribution lines are not pinched or blocked. If a line is blocked, one bearing might be starved of grease while the others are fine, leading to a localized failure. For manual lubrication points, use a calibrated grease gun to avoid over-pressurizing the seals. Over-greasing can be just as damaging as under-greasing, as it can cause the bearing to churn the grease, leading to overheating.
The gearbox requires its own specific lubrication strategy. Gearbox oil should be changed after the initial “break-in” period (usually 500 hours) and then every 2,000 to 4,000 hours thereafter. Check the magnetic drain plug during oil changes; a small amount of fine metal fuzz is normal, but large chunks of metal indicate gear tooth spalling or bearing cage failure. Always use the exact viscosity grade recommended by the manufacturer, as the wrong oil can fail to form a protective film between the gear teeth under high load.
Troubleshooting Signals: Identifying Early Warning Signs
Even with the best maintenance, components will eventually wear out. The key is to recognize the signals of impending failure. One of the most common signals is a change in the shredded output. If the material size becomes inconsistent or if the shredder is “stripping” rather than cutting, the blade gap is likely too wide or the blades are excessively dull. This is a clear sign that you need to clean maintain industrial shredder components properly by adjusting or replacing the knives.
Vibration is another major indicator. While shredders naturally vibrate, a change in the frequency or intensity of vibration is a red flag. This could be caused by an unbalanced shaft, a loose motor mount, or a failing coupling between the motor and the gearbox. Use a vibration pen or a professional vibration analysis tool to establish a baseline and monitor changes over time. Excessive heat is the third major signal. Use an infrared camera to perform a monthly thermal audit of the motor, gearbox, bearings, and hydraulic manifold. Any component that is significantly hotter than its neighbors requires immediate investigation.
Finally, monitor the motor’s amperage draw. If the machine is drawing more current than usual to process the same amount of material, it indicates internal friction or mechanical resistance. This could be due to dull blades, a failing gearbox, or even a shaft that is slightly out of alignment. By tracking these metrics, you can move from reactive maintenance (fixing things when they break) to predictive maintenance (fixing things before they break), which is the gold standard for industrial operations.
Maintenance Schedule Table
| Frequency | Component | Action Required |
|---|---|---|
| Daily | Cutting Chamber | Clear debris, check for foreign objects, visual blade inspection. |
| Daily | Hydraulics | Check oil levels, inspect for leaks, monitor operating temperature. |
| Weekly | Fasteners | Tighten motor, gearbox, and bearing housing bolts. |
| Weekly | Lubrication | Grease main bearings and check auto-lube reservoir. |
| Monthly | Electrical | Clean cabinet, tighten terminals, inspect sensors/limit switches. |
| Monthly | Drive Train | Inspect couplings, check gearbox oil clarity, check belt tension. |
| Quarterly | Blades/Shafts | Detailed wear measurement, check shaft alignment, rotate blades. |
| Annually | Full System | Hydraulic oil change, gearbox oil change, structural weld inspection. |
Frequently Asked Questions (FAQ)
1. How often should I sharpen my industrial shredder blades?
The frequency of sharpening depends entirely on the material you are shredding. For soft plastics, blades may last months, while for abrasive materials like glass-filled polymers or contaminated metals, they may need attention every few weeks. The best indicator is the “gap” between blades and the quality of the output. If the machine starts consuming more power or the output size increases, it’s time to sharpen or replace the blades.
2. What is the best way to clean a shredder after processing sticky materials?
Sticky materials like rubber or certain adhesives can be difficult. The best approach is to run a “cleaning charge” of dry, abrasive material like wood chips or dry cardboard through the machine at the end of the run. This helps scrub the blades. For remaining residue, use a non-flammable industrial degreaser and manual scraping. Never use water if there is a risk of it entering the bearings or electrical systems.
3. Why is my shredder vibrating more than usual?
Increased vibration is usually caused by one of three things: a dull or broken blade causing an uneven load, a loose mounting bolt on the motor or gearbox, or a failing bearing. Stop the machine immediately and perform a thorough inspection of the cutting chamber and the drive train. Continuing to operate a vibrating shredder can lead to cracked frames or snapped shafts.
4. Can I use any type of grease for the bearings?
No. Industrial shredders require specialized Extreme Pressure (EP) grease. These greases contain additives that maintain a lubricating film even under the intense shock loads common in shredding. Using a standard multi-purpose grease will lead to premature bearing failure. Always refer to your HARSLE manual for the specific grease grade (e.g., NLGI Grade 2 with MoS2).
5. How do I know if my hydraulic oil needs changing?
While visual checks (looking for cloudiness or darkening) are helpful, the only certain way is through oil analysis. A lab test will check for viscosity changes, oxidation levels, and the presence of wear metals. If you don’t have access to a lab, a general rule of thumb is to change the hydraulic oil every 2,000 to 4,000 operating hours, depending on the environment’s cleanliness and temperature.
6. What are the signs of a failing gearbox?
Early signs include increased noise (grinding or whining), excessive heat on the gearbox casing, and metal flakes in the oil. If you notice the gearbox is leaking oil from the input or output shafts, the seals have failed, which often precedes bearing failure within the gearbox. Regular oil changes and magnetic plug inspections are your best defense.