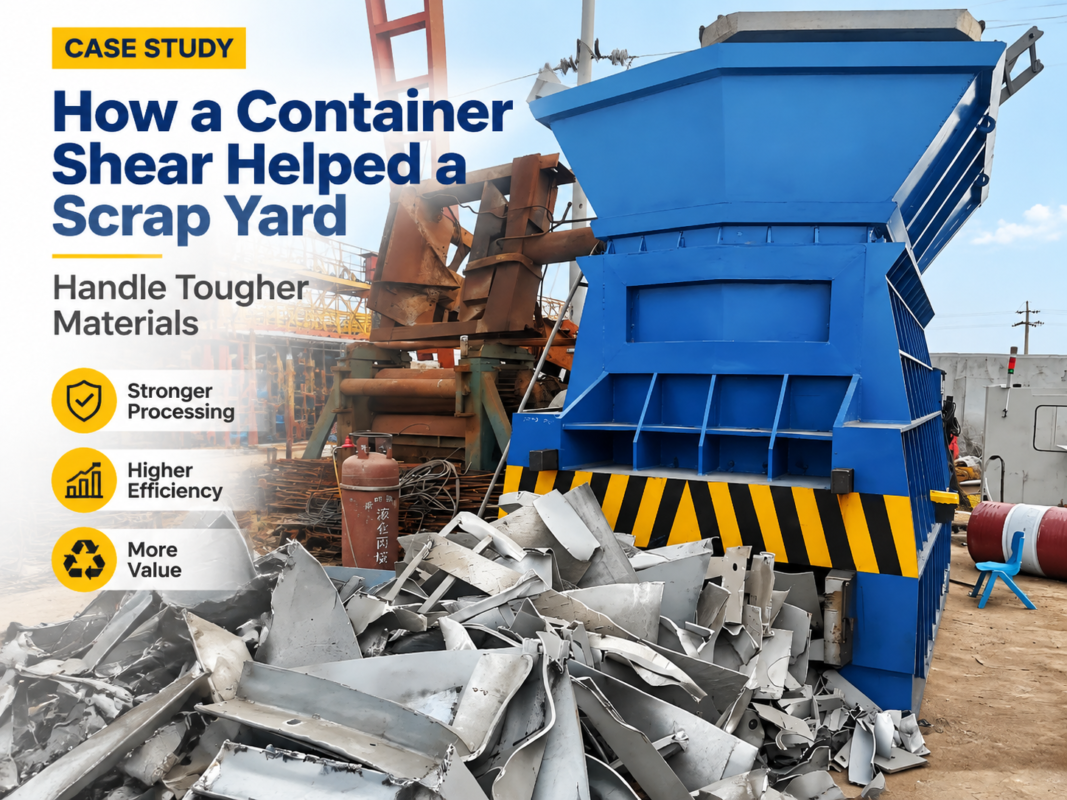
Container Shear Blade Replacement Guide: When to Change and How to Set Up

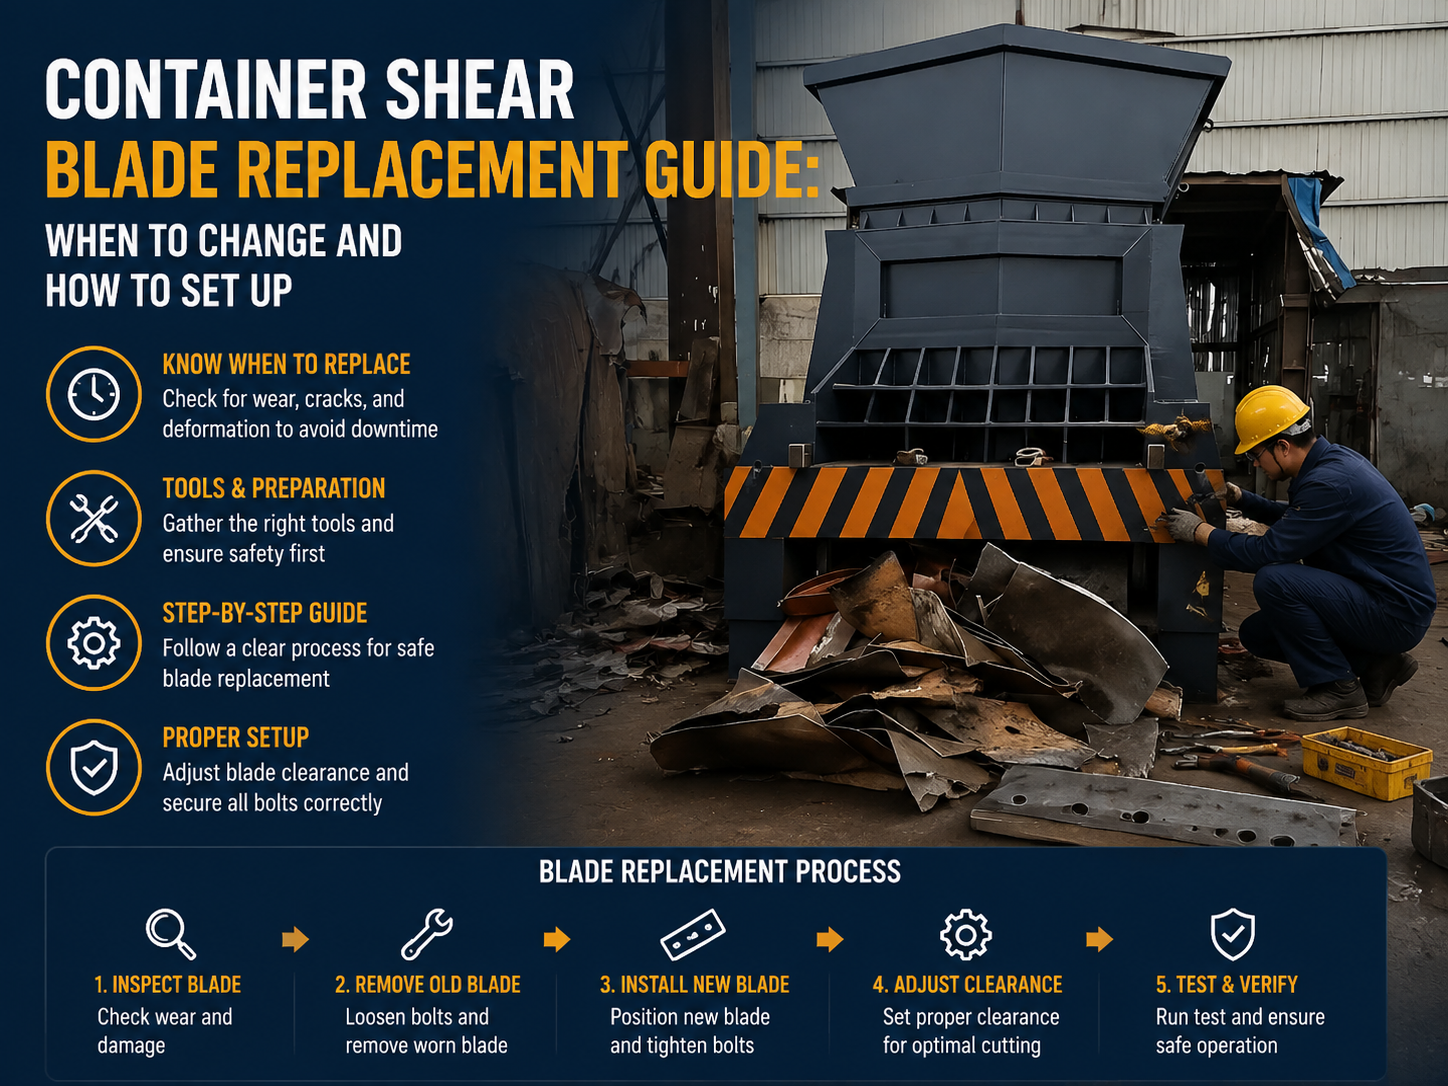
Technical Overview of Container Shear Blade Systems
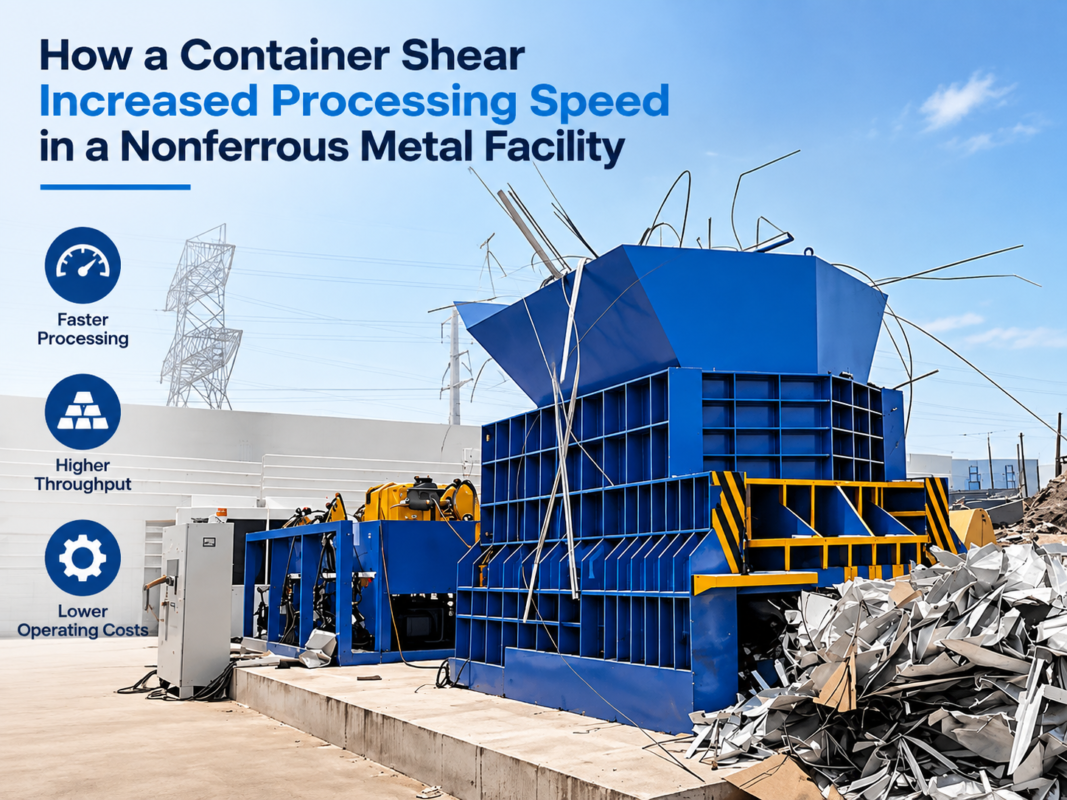
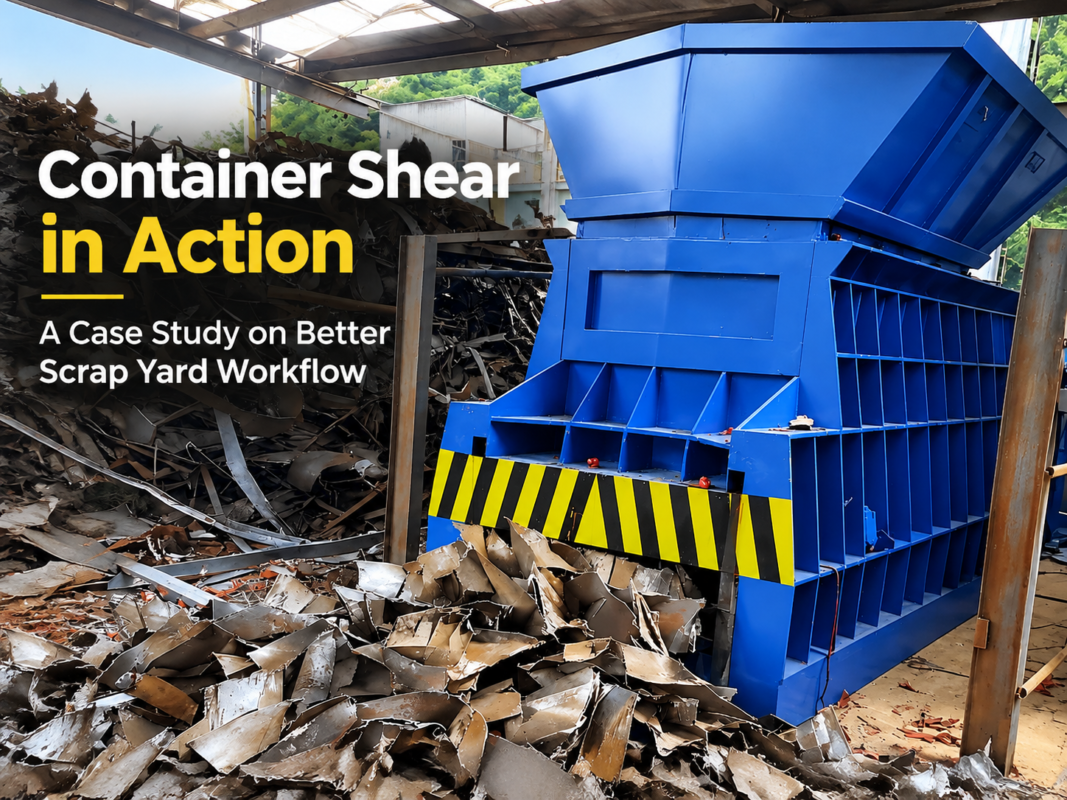
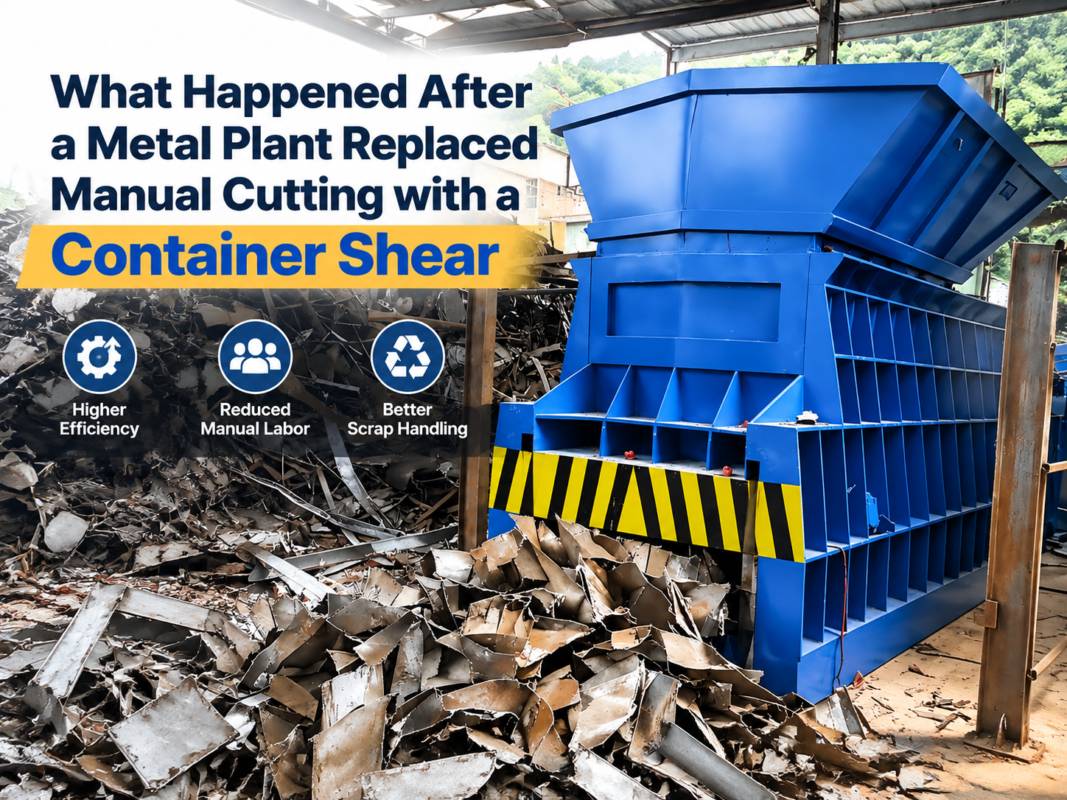
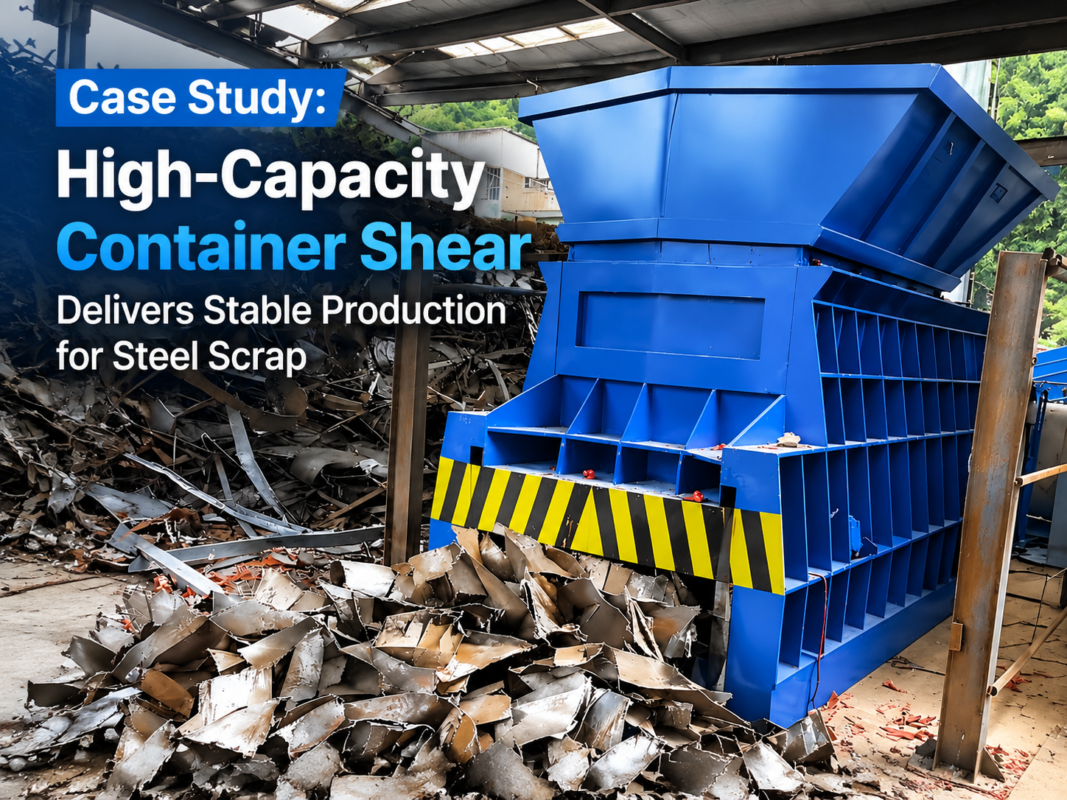
In the heavy-duty world of scrap metal recycling, the container shear stands as a titan of efficiency. Unlike traditional alligator shears or guillotine shears, the container shear (often referred to as a box shear) is designed for continuous feeding and high-volume processing of bulky scrap. At the heart of this massive hydraulic force are the cutting blades. These components are subjected to extreme compressive and shear stresses, often processing materials ranging from structural steel beams to HMS1 and HMS2 scrap. Understanding the mechanics of Container Shear Blade Replacement : When Change Set Up is critical for maintaining operational uptime and ensuring the longevity of the machine’s hydraulic system.
The blade system in a HARSLE container shear typically consists of an upper moving blade (mounted on the slide block) and a lower fixed blade (mounted on the bed). These blades are not just simple pieces of steel; they are precision-engineered tools made from high-alloy tool steels such as H13, 6CrW2Si, or Cr12MoV. These materials are chosen for their ability to maintain hardness at high temperatures and resist chipping under impact. The interaction between the upper and lower blades must be perfectly synchronized. Even a slight misalignment can lead to catastrophic failure, not just of the blades, but of the hydraulic cylinders and the main frame of the shear.
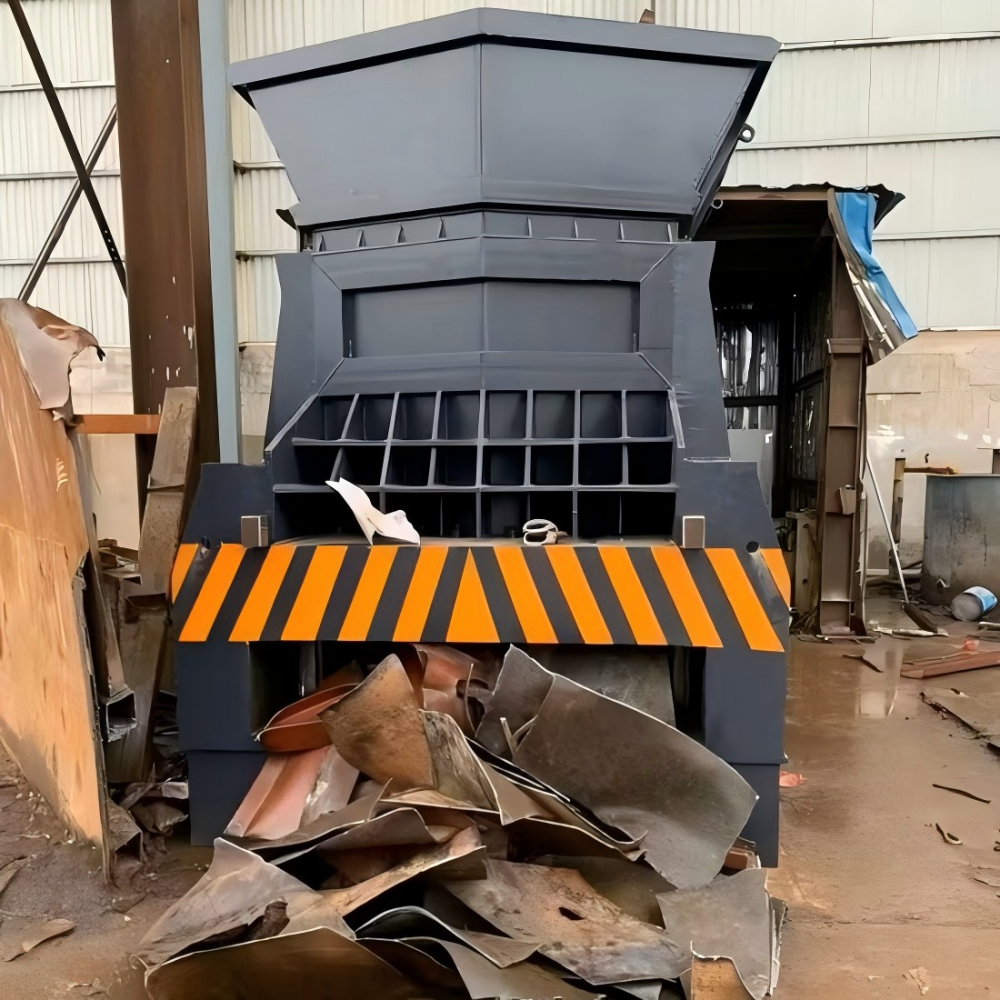
Modern container shears utilize a multi-segment blade design. Instead of one long, continuous blade, the cutting edge is composed of several smaller blocks. This design is intentional; it allows for localized replacement if one section chips, and it accommodates the thermal expansion that occurs during intensive 24/7 operations. Furthermore, most container shear blades are four-sided, meaning they can be rotated (flipped) to provide four fresh cutting edges before requiring professional regrinding. This maximizes the ROI on the consumable parts and reduces the frequency of purchasing new sets.
Core Parameters for Blade Performance
To master the process of Container Shear Blade Replacement : When Change Set Up, one must first understand the core parameters that govern cutting efficiency. The most critical parameter is the blade clearance (the gap between the upper and lower blades). If the clearance is too large, the metal will fold or tear rather than cut, leading to “jamming” and excessive heat. If the clearance is too small, the blades may rub against each other, causing rapid wear, friction-induced softening of the steel, and potential breakage of the blade bolts.
Another vital parameter is the blade hardness, typically measured on the Rockwell C scale (HRC). For container shears, a hardness of 52-58 HRC is common. While higher hardness increases wear resistance, it also increases brittleness. In scrap environments where non-shearable objects (like hardened shafts or thick cast iron) might accidentally enter the chamber, a slightly tougher, less brittle blade is often preferred to prevent shattering. Additionally, the cutting angle—the rake angle of the upper blade—determines how the force is distributed. A steeper angle reduces the initial force required to penetrate the scrap but increases the lateral force pushing the blades apart.
Finally, the torque settings for the blade bolts cannot be overlooked. Container shear blades are held in place by high-tensile bolts that must withstand the vibration and shock of every cut. Using a calibrated hydraulic torque wrench is mandatory during setup. Improperly torqued bolts can lead to blade “chatter,” which creates uneven wear patterns and can eventually strip the threads in the blade seat, a very costly repair that requires specialized machining to fix.
Calculation Method for Blade Clearance
Determining the correct clearance is not a matter of guesswork; it is a technical calculation based on the thickness and tensile strength of the material being processed. For most industrial container shears, the rule of thumb for clearance is between 5% and 10% of the material thickness. However, since scrap metal varies significantly in thickness, the shear is usually set up for the “average maximum” thickness the machine is rated for.
The formula often used by engineers is: C = k * t, where C is the clearance, t is the material thickness, and k is a constant based on the material type. For soft mild steel, k might be 0.05. For harder stainless steel or high-carbon scrap, k might increase to 0.08 or 0.10. In a container shear environment, where you might be cutting a 20mm plate one second and a bundle of thin pipes the next, the clearance is typically set at a compromise. For a HARSLE shear rated for 25mm plate, a clearance of 1.5mm to 2.0mm is often the standard setup to ensure versatility without sacrificing edge quality.
Blade Specification and Parameter Table
The following table provides a general guideline for blade parameters based on the shearing force of the container shear. Note that these values may vary based on specific HARSLE models and custom configurations.
| Shear Force (Tons) | Max Material Thickness (mm) | Recommended Blade Clearance (mm) | Blade Material Grade | Hardness (HRC) | Bolt Torque (Nm) |
|---|---|---|---|---|---|
| 400T | 16-20 | 0.8 – 1.2 | 6CrW2Si | 52-55 | 800 |
| 630T | 25-30 | 1.5 – 2.0 | H13 / Cr12MoV | 54-57 | 1200 |
| 800T | 35-40 | 2.5 – 3.0 | H13 / Custom Alloy | 55-58 | 1800 |
| 1000T+ | 45+ | 3.5 – 4.5 | Heavy-Duty Alloy | 56-59 | 2500+ |
When to Change: Identifying Wear and Damage
Knowing exactly when to initiate a Container Shear Blade Replacement : When Change Set Up procedure is the difference between a profitable operation and a maintenance nightmare. The most obvious sign is a decrease in cutting quality. If the scrap comes out with heavy burrs, or if the shear is “tearing” the metal rather than snapping it cleanly, the blades are likely rounded. A rounded edge increases the surface area of contact, which requires the hydraulic system to work harder, increasing oil temperature and electricity consumption.
Visual inspection is the most reliable method. Operators should look for “chipping” along the edge. Small chips (under 5mm) can sometimes be ignored for a shift, but larger chips create stress concentrators that can lead to the entire blade block cracking. Another sign is “smearing,” where the metal being cut actually welds itself to the blade edge due to extreme heat and pressure. This usually indicates that the clearance has become too tight or the blades have lost their temper (hardness) due to overheating.
Furthermore, listen to the machine. A sharp container shear produces a distinct, sharp “crack” when cutting heavy scrap. As blades dull, this sound transforms into a dull thud or a grinding noise. If you notice the hydraulic pressure gauges hitting the relief valve setting more frequently on materials that used to be easy to cut, it is a definitive sign that the blades are blunt. Monitoring the “cycle time” is also helpful; dull blades increase the resistance, which can slow down the downward stroke of the shear head, reducing the number of cuts per hour.

How to Set Up: Step-by-Step Replacement Guide
Setting up new or rotated blades requires precision and adherence to safety protocols. Follow these steps for a successful Container Shear Blade Replacement : When Change Set Up:
- Safety First: Lock out and tag out (LOTO) the machine. Ensure the shear head is mechanically blocked or rested in the fully down position if the design allows, or securely pinned in the up position. Relieve all hydraulic pressure.
- Cleaning: Once the old blades are removed, the blade seats (the pockets where the blades sit) must be cleaned meticulously. Use a wire brush or grinder with a flap disc to remove any rust, metal shavings, or burrs. A single grain of sand behind a blade can cause it to sit unevenly, leading to a crack when the bolts are tightened.
- Inspection of the Seat: Check the blade seat for “mushrooming” or deformation. If the seat is not perfectly flat, the new blade will not have full support and will likely break under load.
- Installation: Place the blade segments into the seat. Apply a high-pressure anti-seize lubricant to the bolt threads. This ensures accurate torque readings and makes future removals much easier.
- Initial Tightening: Tighten the bolts in a sequence (usually from the center outward) to about 50% of the target torque.
- Clearance Adjustment (Shimming): This is the most technical part. Use a feeler gauge to check the gap between the upper and lower blades. If the gap is uneven, steel shims must be placed behind the blades. HARSLE provides precision shim kits for this purpose. Never use makeshift materials like aluminum cans or cardboard.
- Final Torque: Once the clearance is uniform across the entire length of the shear, apply the final torque using a hydraulic torque wrench.
- The “Paper Test”: With the machine back in operation (and after removing all tools), perform a slow-motion cycle. Some technicians use a piece of heavy cardstock to check the cut. If it cuts the paper cleanly across the whole length, the setup is perfect.
Common Engineering Mistakes in Blade Setup
One of the most frequent mistakes in Container Shear Blade Replacement : When Change Set Up is neglecting the condition of the blade bolts. Many operators reuse bolts indefinitely. However, these bolts undergo significant “stretch” and fatigue. It is recommended to replace the blade bolts every second or third blade rotation to prevent them from snapping during operation, which can cause the blade to fall out and destroy the entire shear head.
Another error is improper shimming. Technicians sometimes only shim one end of a blade segment, creating a “wedge” effect. This results in point-loading, where all the cutting force is concentrated on a small area of the blade rather than being distributed across the seat. This almost always results in a broken blade. Additionally, ignoring the “back-up” plates or the wear plates on the slide block can lead to excessive lateral movement. If the slide block has too much play, the blade clearance will fluctuate during the cut, rendering even the most precise setup useless.
Finally, failing to warm up the machine before checking clearance is a common oversight. Metal expands when hot. A clearance set at 1.0mm on a freezing winter morning might shrink to 0.6mm after four hours of heavy shearing. Always check the clearance when the machine is at its standard operating temperature to ensure the settings are realistic for production conditions.
Selection Checklist for New Blades
- Material Compatibility: Ensure the blade grade matches your scrap type (e.g., H13 for high-heat, high-impact applications).
- Dimensional Accuracy: Verify that the blade thickness and bolt hole alignment match the OEM specifications exactly.
- Heat Treatment Certification: Ask for a hardness report to ensure the blades have been tempered correctly and consistently.
- Surface Finish: The mounting surfaces should be ground flat to within 0.02mm to ensure proper seating.
- Edge Geometry: Check that the cutting edges are sharp and free from micro-fractures caused by improper grinding.
Frequently Asked Questions (FAQ)
1. How many times can I flip a container shear blade?
Most HARSLE container shear blades are designed with four usable edges. You can rotate them 90 degrees three times after the initial edge wears down. After all four edges are rounded, the blade must be sent for professional regrinding or replaced.
2. Can I sharpen the blades myself with a hand grinder?
No. Hand grinding creates localized heat which ruins the temper of the steel, making it soft. It also creates an uneven surface that makes setting the clearance impossible. Blades must be ground on a precision surface grinder with adequate coolant.
3. What happens if I cut material thicker than the machine’s rating?
Cutting over-capacity material puts immense stress on the blade bolts and the hydraulic seals. It often results in the blades “chipping” or the main cylinder bypassing. It is the leading cause of premature blade failure.
4. How often should I check the blade clearance?
For high-volume operations, clearance should be checked weekly. If you are processing particularly dirty or sandy scrap, check it every few days, as abrasives can accelerate the wear of the blade faces.
5. Why do my blade bolts keep loosening?
This is usually due to vibration caused by dull blades or improper initial torque. Ensure you are using the correct grade of high-tensile bolts (usually 12.9 grade) and a calibrated torque wrench. Using a thread-locking compound can also help in high-vibration environments.